Manual
Login
Our 3D CAD supplier models have been moved to 3Dfindit.com, the new visual search engine for 3D CAD, CAE & BIM models.
You can log in there with your existing account of this site.
The content remains free of charge.

Top Links
Manual
 |
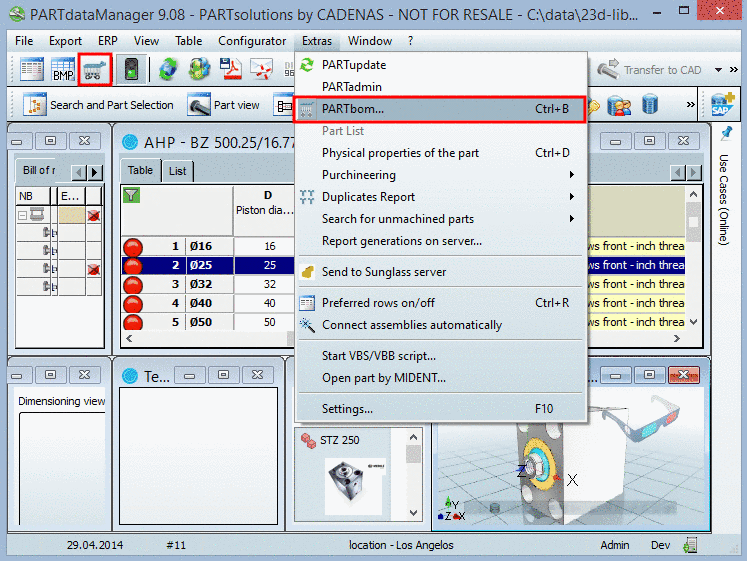
Initial situation: You have opened PARTdataManager and have chosen a part.
-
Transfer the marked part to PARTbom, by clicking on the Transfer to Bill of Materials (PARTbom) button.
-> A dialog box with an entry field for Quantity of parts is displayed.
Specify the Number of Parts that the part in the list should be applied with and confirm with .
-
-> PARTbom is started and the query dialog box Select bom file is displayed.
-
Optionally: If there are different list format templates available, the dialog box Choose order form opens.
From the existing list format template choose the desired one and confirm with .
-
-> PARTbom is opened and shows the transferred part as a subdirectory of the Check-in folder in the Hierarchical view menu area.
The menu areas Table view and Print preview still contain no information on the component.
Draw the transferred part from Check-in into the folder Bill of material via Drag & Drop.
-> In the Print preview (the actual form) you can see the part to be transferred as a post, in the Table view, you can see the data.


In order to transfer other parts into the BOM list, return to PARTdataManager and follow the above named steps again.
You can also apply parts yourself and incorporate them in the BOM list. (see next section).
